How to measure cabinet doors without guessing
Measure the opening, fix the overlay, and record every door once. A practical door schedule that keeps you out of the reorder queue for good.

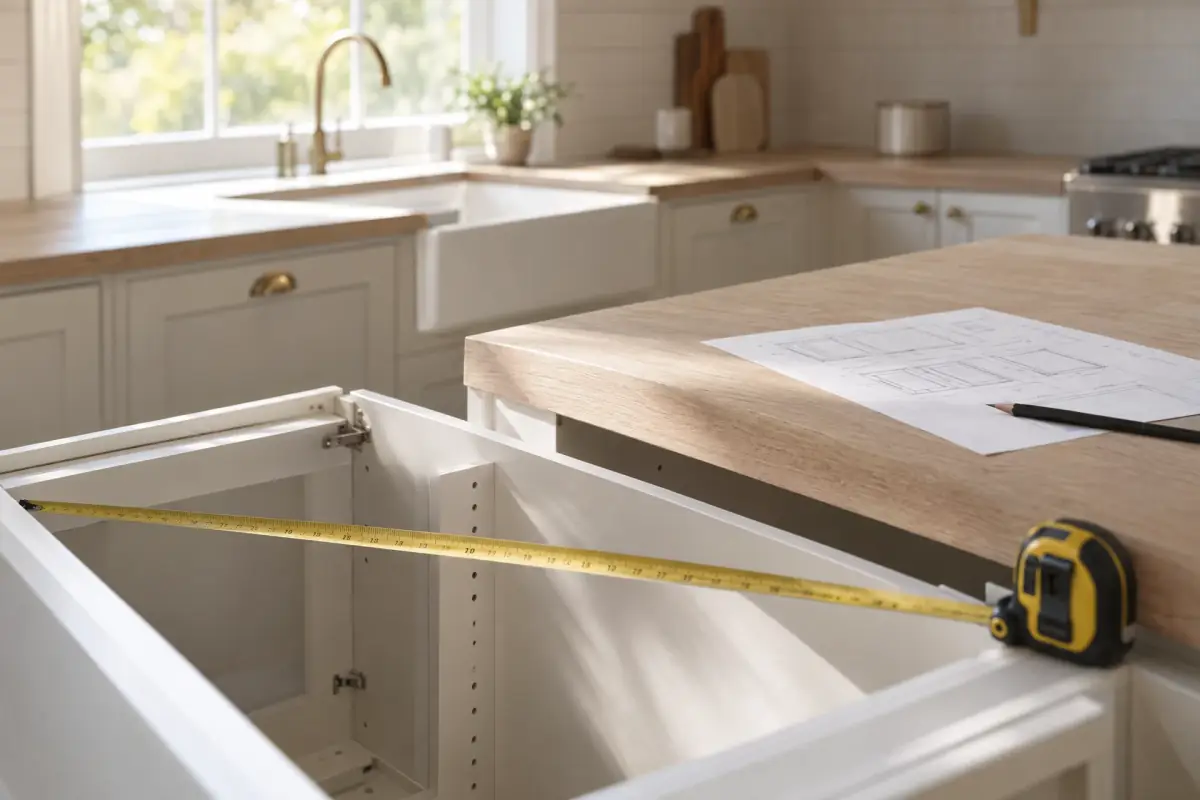
Measure the opening, decide how the new door will sit on it, then size the door. Those are three separate jobs, and most ordering mistakes come from doing all three in one pass with a tape in one hand. Write every number down before you open a supplier’s form.
Start with the opening, not the old door
The door on the cabinet now tells you what someone fitted. It does not tell you what will fit. Doors get planed, shimmed, swapped between cabinets, or replaced by a previous owner who ordered the nearest standard size and made it work.
So measure the opening first. On a face-frame cabinet that is the clear distance between the inside edges of the stiles and rails. On a frameless box it is the clear distance between the carcass sides. The opening is the fixed thing. The door is the variable.
Then measure the existing door as well, and keep both sets of numbers. Where they disagree, the opening wins, and the difference is a clue. A door that is narrower than its opening plus a normal overlay may have been trimmed. A door that is wider than expected may be covering a damaged edge on the frame.
If you are still deciding whether new doors are the right move at all, the reface or replace comparison is the place to start. Measuring is the next step, not the first one.
One opening, three door sizes
An overlay door sits in front of the face frame and laps onto it. An inset door sits inside the opening, flush with the frame. That single difference changes the size of the door that fits.
An overlay door is wider than the opening by the amount it covers on each side. An inset door is narrower than the opening by the reveal on each side. Two doors on one opening split the width, minus the gap where they meet.
This is why a good order form asks for the opening and the overlay rather than a width on its own. If you hand over a door size without saying how it sits, you have given half a specification.
Fix the overlay before you touch the tape
Overlay is a decision, not a measurement. Full overlay covers almost all of the face frame and gives a clean, flat run. Standard overlay leaves a border of frame showing and forgives a box that is slightly out of square. Inset shows the frame and every gap around the door, which is beautiful when the boxes are good and unforgiving when they are not. If you have not settled on a front yet, the door style guide shows how each one sits on the same box.
Reveal and clearance are the two things people forget. Reveal is the gap you leave around an inset door or between two doors. Clearance is the room a door needs to swing without hitting a pull, an appliance handle, or the door beside it. A wide drawer pull on a base cabinet can stop the neighboring door from opening past ninety degrees.
If you are leaning toward inset, read the inset door guide before you commit. Inset asks more of the boxes and the hinges than any other style, and it is the least forgiving place to discover a measuring error.
Measure width and height in three places
Width: top, middle, bottom. Height: left, center, right. Six readings per opening, written down, not remembered.
On a new box the three widths should match. On an older one they often do not. The readings tell you whether you are dealing with a rectangle or a trapezoid, and that decides how much of the difference the door can absorb.
Do not average the readings. An inset door has to fit the smallest width and the smallest height, or it will bind. An overlay door sized to the largest reading will overhang at the tight corner and look wrong from the doorway, even if the tape said it was right.
A diagonal check is worth the extra minute. Measure corner to corner both ways. If the two diagonals differ, the box is racked, and no door will sit well until that is sorted. Sometimes the fix is as simple as driving the screws that hold the box to the wall and checking again. Sometimes the box has to come out.
Small differences are normal in an older kitchen. Large ones are a decision about fillers, scribes, or new boxes, and it is much better to make that decision now than after the doors arrive.
The measuring guide covers the tools and the order of work. This article is about the numbers themselves.
Record the hinge side, the bores, and the details that cause reorders
Most reorders are not caused by a wrong width. They are caused by a door that arrives bored on the wrong side, or with hinge cups in the wrong place for the cabinet it has to hang on.
For every door, record:
- Hinge side, described as you face the cabinet, and whether it is a single door or one of a pair.
- Hinge type, plus the cup bore: distance from the door edge to the cup center, and from the top and bottom edges to the cup centers.
- Cup diameter and depth, if you plan to reuse the hinges.
- Handle bore: center-to-center spacing, distance from the door edge, and height from the bottom corner.
- Door thickness, especially if the old doors were an unusual thickness.
- Drawer front heights and widths, and whether they are slab or five-piece.
- Anything that is not a door: appliance panels, sink bases, corner cabinets, filler strips, end panels.
A photo of each door with its schedule number on a piece of tape takes a few seconds and settles arguments later.
Build a simple door schedule
A door schedule is a table with one row per door. Number the doors clockwise around the room, starting with the one you reach first. Put the number on the door with tape so the schedule and the kitchen agree.
| Door | Location | Opening W × H | Existing door W × H | Overlay | Hinge side | Notes |
| — | — | — | — | — | — | — |
| 01 | Sink base, left | Width at top, middle, bottom; height at left, center, right | The same six readings | Full | Left | Pairs with 02 |
| 02 | Sink base, right | Width at top, middle, bottom; height at left, center, right | The same six readings | Full | Right | Check pull clearance |
| 03 | Corner base | Width at top, middle, bottom; height at left, center, right | The same six readings | Standard | Left | Filler likely |
Keep a column for anything that changes the door: a sink that needs a shallower front, a range hood that limits the height, a radiator that stops a door opening. The notes column is where the schedule earns its keep.
Then total the doors. Count singles, count pairs, count drawer fronts separately, and check the total against the number of openings you measured. A missing row is much cheaper to find at the kitchen table than at the delivery.
Measure twice, order once
Before the order goes in, read the schedule back against the kitchen. One person reads the number, another checks the tape on the door. Confirm hinge sides, confirm bores, confirm thickness and finish, and confirm whether the doors arrive pre-bored or blank.
If an opening falls outside the standard sizes a supplier lists, that is normal in older kitchens. Custom cabinet doors made to your measurements solve it, but only if the schedule is right. Custom sizing does not rescue a wrong number. It just makes the wrong number more expensive.
Keep the schedule. Tape it inside a cabinet, photograph it, and email it to yourself. In two years, when you want to match a door or replace a damaged one, that sheet is the difference between a phone call and a fresh round of measuring.
What I would do
I would measure every opening three ways, write the numbers into one table, then re-measure the two or three doors I was least sure about. I would settle the overlay before ordering anything, because it changes every width on the sheet. And I would keep the schedule taped inside the sink cabinet, where the next person to open it will find it.
Keep reading
All guides
Refacing vs replacing cabinets: a decision checklist
A calm, ordered checklist for deciding whether to reface or replace your kitchen cabinets, with five physical checks and a clear decision table.