Hardware placement rules that look right
Knob or pull, and where exactly to put it. The placement rules that make a cabinet run look intentional, plus the mistakes that show up after drilling.

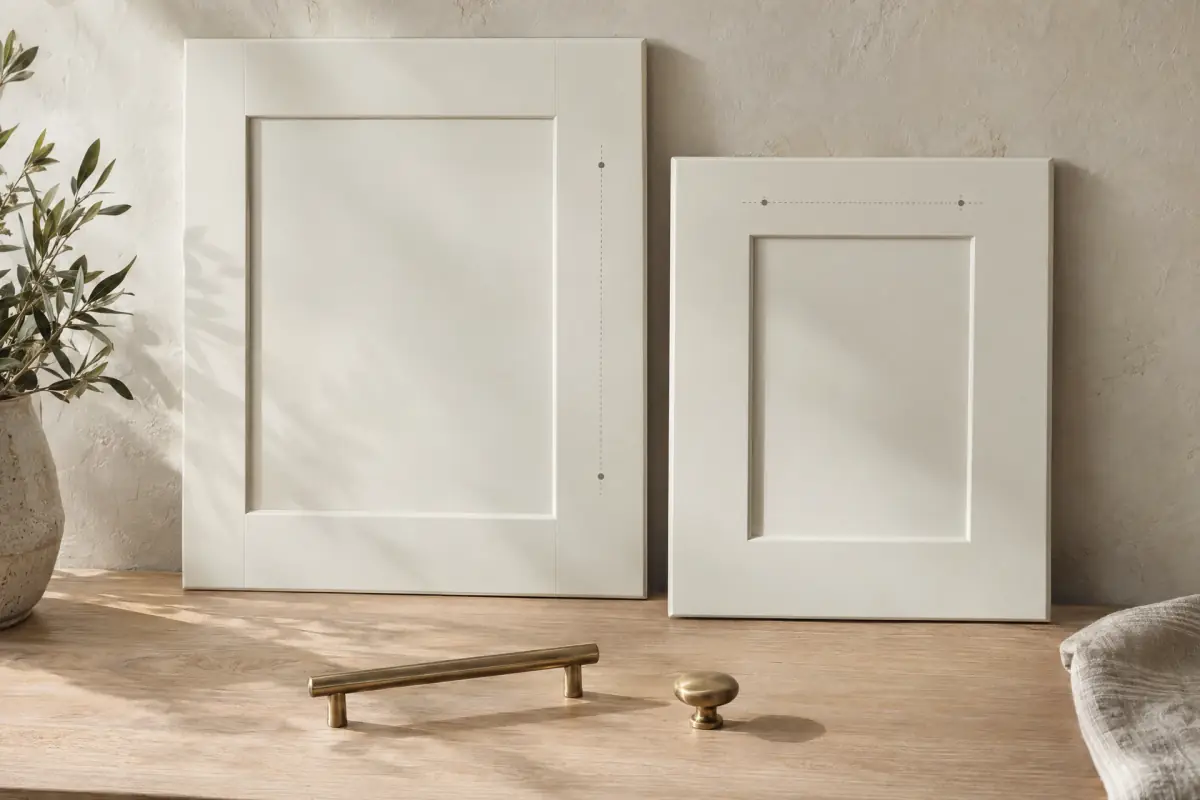
Hardware is the only part of a kitchen you touch every day, and the only part you can ruin in ten seconds with a drill. Most of the rules below are not style opinions; they are the things that stop a run looking wrong from the doorway.
Get the placement right and a modest door looks considered. Get it wrong and an expensive kitchen looks like a DIY weekend that got away.
Start with the door, not the hardware
The profile decides what is possible. A shaker door has a frame wide enough to take a screw anywhere in the stile. A slab door has no frame at all, so the hardware has to sit far enough in from the edge that the fixing does not split the panel. An inset door leaves even less room because the reveal is tight.
Before you fall for a pull, check the width of the stile on your door sample. If the pull’s fixing centres are wider than the stile, the screw will land in the panel joint — which is exactly where a door fails first. Our door styles hub lists the typical frame widths for each profile.
The rules that actually matter
Knobs on doors, pulls on drawers. This is the default for a reason. A knob gives you a grip point at the corner of a door, where your hand naturally arrives. A pull gives you a horizontal grip across a drawer front, which is how you open a drawer. Mixing them the other way round works in some modern kitchens, but it is a deliberate choice, not a shortcut.
Keep the fixing inside the stile. On a five-piece door, the screw should land in the solid frame, not in the recessed panel or the joint. As a rule of thumb, stay at least the radius of the screw plus a few millimetres in from any edge.
Put the knob where the hand goes. On an upper door, that is the lower corner on the opening side. On a base door, it is the upper corner on the opening side. On a drawer, the pull sits centred horizontally — or aligned to the door knobs below if the run mixes both.
Pick one datum and keep it. The common failure is a run where upper knobs sit at one height, base knobs at another, and drawer pulls somewhere else entirely. Choose a consistent distance from the door corner — typically 2 to 3 inches on a standard door — and repeat it on every front of the same type. Consistency reads as quality even when the hardware is cheap.
Scale to the front. A 6-inch pull on a narrow 12-inch door looks like a handle on a suitcase. A small knob on a wide drawer bank disappears. Match the length of the pull to roughly a third of the drawer width, and keep the same family across the kitchen.
Align across the run, not just within the door. Stand at the doorway and look along the kitchen. The knobs on a row of upper doors should form a line. The pulls on a stack of drawers should share a vertical centre line. If one door opens the other way, its knob moves to the other side — and that is correct, even though it breaks the line.
Think about who opens it. A pantry door that only one tall person uses can take a knob high on the frame; a drawer that a child reaches into needs a pull low enough to grab without stretching. Hardware height is a usability decision before it is a visual one, and it is worth opening the door ten times with a taped-on template before you commit.
Knobs, pulls, or both
A kitchen with only knobs looks traditional and costs less. A kitchen with only pulls looks modern and is easier to operate with a wet or full hand. A mixed run — knobs on doors, pulls on drawers — is the most common compromise and the easiest to get right.
If you want the hardware to disappear, choose a slim bar pull in the same tone as the door and fit it horizontally on drawers and vertically on doors. If you want it to be part of the design, choose one finish and repeat it everywhere, including the tap and the cabinet hinges if they are visible.
Finish, and the tap problem
Hardware finish is where most kitchens accidentally end up with three metals: a chrome tap, a brushed nickel pull and a brass knob. Decide the metal family before you order anything, then hold the sample next to the tap under the kitchen light. Warm brass and aged bronze sit well with oak and sage; chrome and brushed steel sit well with cool whites and slab doors.
The exception is deliberate contrast. One aged brass pull on a run of matte black hardware can look intentional. Three finishes that almost match look like a mistake.
Mock it up before you drill
Tape is cheaper than a new door. Cut a paper template for the pull, stick it on the door with low-tack tape, and step back. Then open the door with the template in place and check that your hand lands where the paper is.
Do this for one upper, one base and one drawer before committing. If the template feels wrong at arm’s length, it will feel worse every day for a decade.
Drill once. Measure from the hinge side, mark with an awl, and check the door is the right way up before the bit touches wood. A pilot hole in the wrong corner cannot be moved — only filled, and a filled hole shows every time the light changes.
A quick reference
| Front | Hardware | Where it goes | Common mistake |
|---|---|---|---|
| Upper door | Knob | Lower corner, opening side | Knob at the top, out of reach |
| Base door | Knob | Upper corner, opening side | Knob too close to the worktop edge |
| Drawer | Pull | Centred, or aligned to door knobs | Pull wider than a third of the drawer |
| Wide drawer bank | Bar pull | Centred, same length across the bank | Different lengths on each drawer |
| Pantry door | Pull or knob | Mid-height, opening side | Hardware at a height only one person likes |
| Appliance panel | Pull | Matched to adjacent drawers | A different finish that almost matches |
If the doors are the problem
Hardware can only do so much. If the doors are tired, the hinges are loose, or the run is a patchwork of old and new fronts, new hardware will highlight the problem rather than hide it. A refaced kitchen with new doors and one consistent hardware family is often the cheaper way to get the look you are after.
Measure every opening before you order, including the door thickness — hardware screws are chosen for a reason, and a 16 mm door takes a different screw from a 22 mm one. The measuring guide walks through it.
And if the run includes an awkward opening that no stock door fits, custom cabinet doors made to your measurements will let you keep one hardware layout across the whole kitchen instead of compromising at the end of the run.
Keep reading
All guides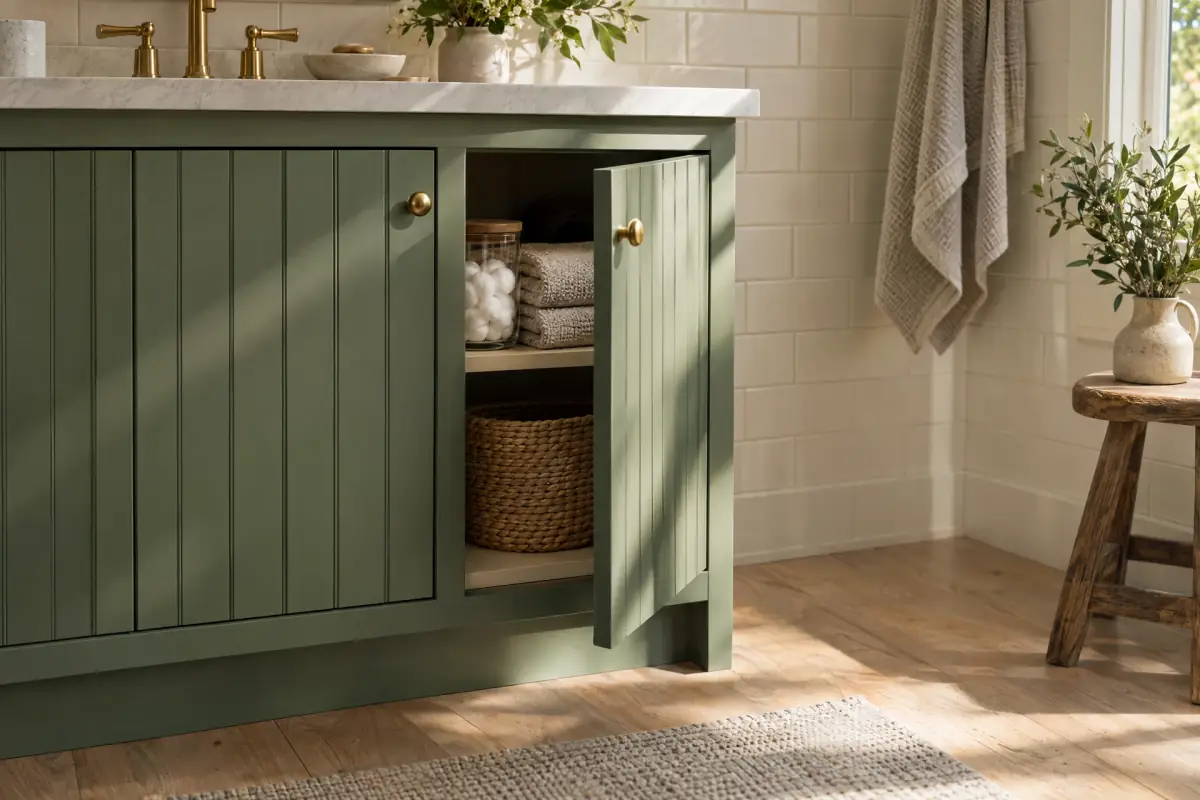
Beadboard cabinet doors: charm, minus the fuss
Where beadboard works, where it fights you, and how to specify it. Bead width, sealing, scale, and how to dodge the cottage-overload trap entirely.
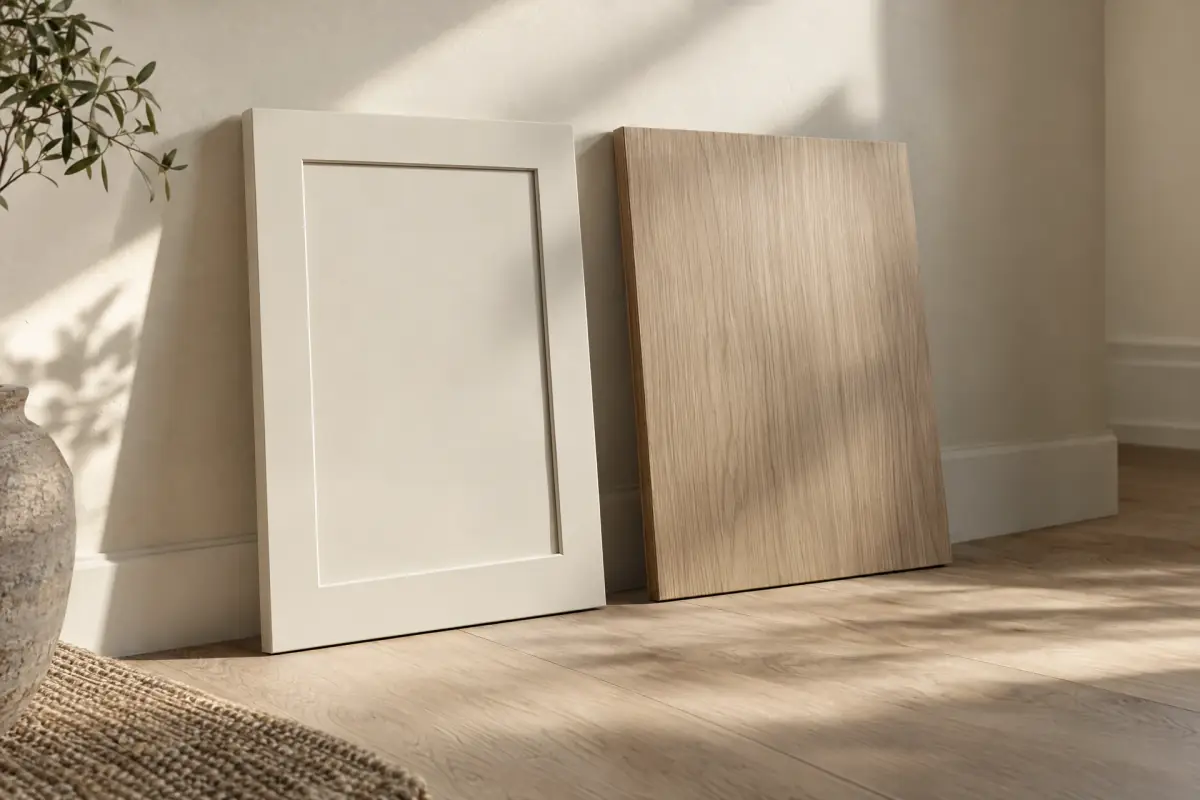
Shaker vs slab cabinet doors: which ages better
A ten-year look at shaker and slab cabinet doors: how each handles dents, grease, steam and repainting, and which rooms suit each one the best.