Where a cabinet budget actually goes
Boxes, fronts, hardware, install, and the work that follows. Where a cabinet budget really goes, and the choices that move the number the most.

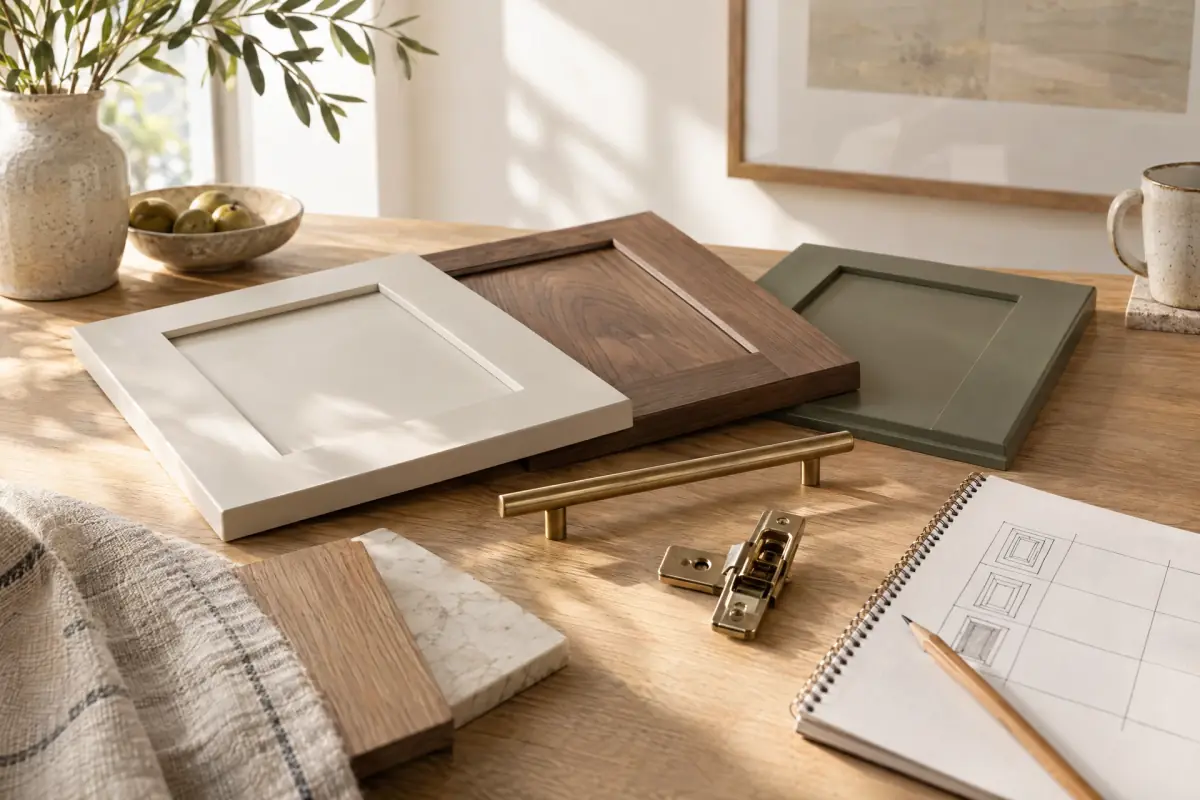
A cabinet budget lands in five places: boxes, fronts, hardware, install, and the knock-on work that follows a new layout. The fronts move the total more than the box count does. Hardware is where people trim hardest and regret it first.
The five cost centers
Every cabinet quote you will see is a version of the same five lines. Once you can separate them, quotes stop being a single frightening number and start being a set of decisions.
Boxes. The carcass, the drawer boxes, the shelves, and the size and shape of each unit. Material matters here: plywood, MDF, and solid wood behave differently and are priced differently. The materials guide covers what each one does well.
Fronts. Doors, drawer fronts, appliance panels, end panels, and the finish on all of them. This is the visible half of the kitchen and usually the largest single line.
Hardware. Hinges, drawer runners, pulls, soft-close mechanisms, lift-up stays, and anything that moves. Small parts, large effect.
Install. Removing the old cabinets, disposal, leveling, scribing to walls, fastening to studs, reinstalling appliances, and patching afterward.
Knock-ons. The worktop, sink, tap, plumbing, electrical, tiling, painting, and flooring that a new layout drags behind it. These are the lines people forget, and they are the reason a cabinet quote and a kitchen bill are never the same number.
Why the front of the door moves the number more than the count of boxes
Adding a cabinet adds a box, a door, and a length of worktop. Changing the door changes every door in the room. That is the asymmetry at the heart of cabinet pricing.
A flat slab front is one panel with an edge. A shaker front is five pieces, assembled, sanded, and finished on every edge. A raised panel adds a molded frame and a panel that steps forward. Beadboard multiplies the parts again. Inset changes the job from covering an opening to fitting each door to its own opening, which is slower and less forgiving. The raised panel guide is honest about the extra work involved.
Material and finish do the same thing. A painted finish hides the species and shows the profile. A stain shows the grain and demands better wood underneath. Every extra coat, glaze, or hand-detailed edge adds labor, and labor is the part of a door price that does not shrink when you order more of them.
The same boxes, three fronts
Picture one kitchen with the boxes already chosen. Now put three different fronts on it.
Painted slab is the calmest and the least work: flat panels, simple edges, one color across the room. Painted shaker adds assembly and more edges to finish, and it reads warmer. A stained raised panel or an inset door adds machining, fitting time, and finishing stages, and it changes the room’s mood as much as its budget.
The point is not that one is better. The point is that the front package is the lever with the most travel, so it is the one worth deciding carefully and early.
Where budgets leak
Leaks are not the same as waste. A leak is money that leaves before the layout works.
Specialty storage. Pull-out pantry units, corner carousels, spice racks, trash pull-outs, utensil inserts, appliance garages. A trash pull-out that gets used every day earns its place. A corner carousel that fights the door every time you open it does not.
Glass. Glass-front doors, mullions, and leaded panels add cost and cleaning, and they expose whatever is behind them. If the shelves are not tidy, glass is a daily reminder.
Tall pantries. Full-height doors use more material, need more hinges, and move more with the seasons. A tall pantry can be the best thing in the kitchen and still be the line that pushes the quote over.
Decorative extras. Crown, light rail, end panels, toe kick, island panels, furniture feet. Each is small. Together they are a second door package.
The test is simple: if you would not notice it after a month, it is a leak.
Where budgets get thin in the wrong places
The opposite failure is quieter. It shows up in month three, not on delivery day.
- Hinges that cannot carry the door, so it sags and catches.
- Drawer runners that flex under a full load, or stop short of the back of the box.
- Boxes that were never leveled, so every door rubs at one corner.
- No allowance for scribing, so gaps against the wall get filled with caulk.
- Install time squeezed to hit a number, so the last stretch never gets done.
Good hinges and runners are the cheapest insurance in the room. They are also the parts you touch every day and never look at. Spend there before you spend on a glass front.
Refacing and replacing have different cost shapes
Refacing keeps the boxes and replaces the fronts, the visible veneer, and the hardware. The worktop, sink, plumbing, electrical, and floor usually stay. The room is out of action for days rather than weeks, and the layout does not change.
Replacing brings boxes, install, worktop, plumbing, electrical, tiling, disposal, and often flooring and decorating with it. It also buys you the chance to fix a layout that has never worked.
Refacing is not automatically the cheaper route. If the boxes are water-damaged, the drawers are failing, or the layout is wrong, refacing spends good money on a carcass that has to go. The reface or replace comparison walks through the decision properly. The budget question follows from it, not the other way around.
Build a contingency, then decide in order
A contingency is not a rounding error. It is a line in the budget with a job: the thing you did not know about until the worktop came off.
Decide in this order, because each choice changes the ones below it:
- Layout. Does the room stay where it is?
- Boxes. Keep, repair, or replace.
- Fronts. Style, material, finish.
- Hardware. Hinges and runners first, pulls last.
- Knock-ons. Worktop, sink, electrical, tile, paint.
- Contingency. What is left, and what it is for.
Most people do this in reverse. They fall for a door, then discover the boxes will not take an inset reveal, then find the worktop has to move. The order above keeps the expensive decisions in front of the cheap ones.
What to get in three written quotes
Three quotes only help if they describe the same kitchen. Ask each supplier for the same breakdown, in writing:
- Boxes: material, thickness, drawer box construction, shelf adjustment.
- Fronts: style, material, finish, edge treatment, door thickness.
- Hardware: hinge type, runner type, load rating, soft-close, and a pull allowance.
- Install: removal, disposal, leveling, scribing, appliance disconnect and reconnect, patching and touch-up.
- Knock-ons: worktop template and fit, sink and tap, plumbing, electrical, tiling, painting.
- Lead time, payment schedule, warranty terms, and a list of exclusions.
Then compare line by line, not totals. The lowest total is often the quote with the most missing from it. A quote that leaves out disposal, scribing, or the worktop template is not cheaper. It is incomplete, and the missing work will arrive later as a change order.
| Cost center | What drives it | Where to save |
| — | — | — |
| Boxes | Material, drawer construction, unit count, odd sizes | Standard sizes, fewer internal fittings, repair rather than replace |
| Fronts | Style, material, finish, door thickness, panel count | Simpler profile, painted rather than stained, slab on the less visible run |
| Hardware | Hinge and runner quality, soft-close, pull count | Buy good hinges and runners, save on pulls and interior extras |
| Install | Access, leveling, scribing, appliance work, disposal | Clear the room yourself, keep the layout, book a slot that suits the installer |
| Worktop and services | Material, edge profile, sink and tap, moving plumbing or power | Keep the sink and tap position, choose a simpler edge |
The bottom line
A cabinet budget is not one number, it is five, and only one of them is about how many boxes you buy. Decide the layout, then the boxes, then the front package, then the hardware that makes the whole thing feel solid. Hold something back for the surprises behind the old worktop, and get three quotes that describe the same job in the same words. Do that, and the total stops being a shock and starts being a plan.
Keep reading
All guides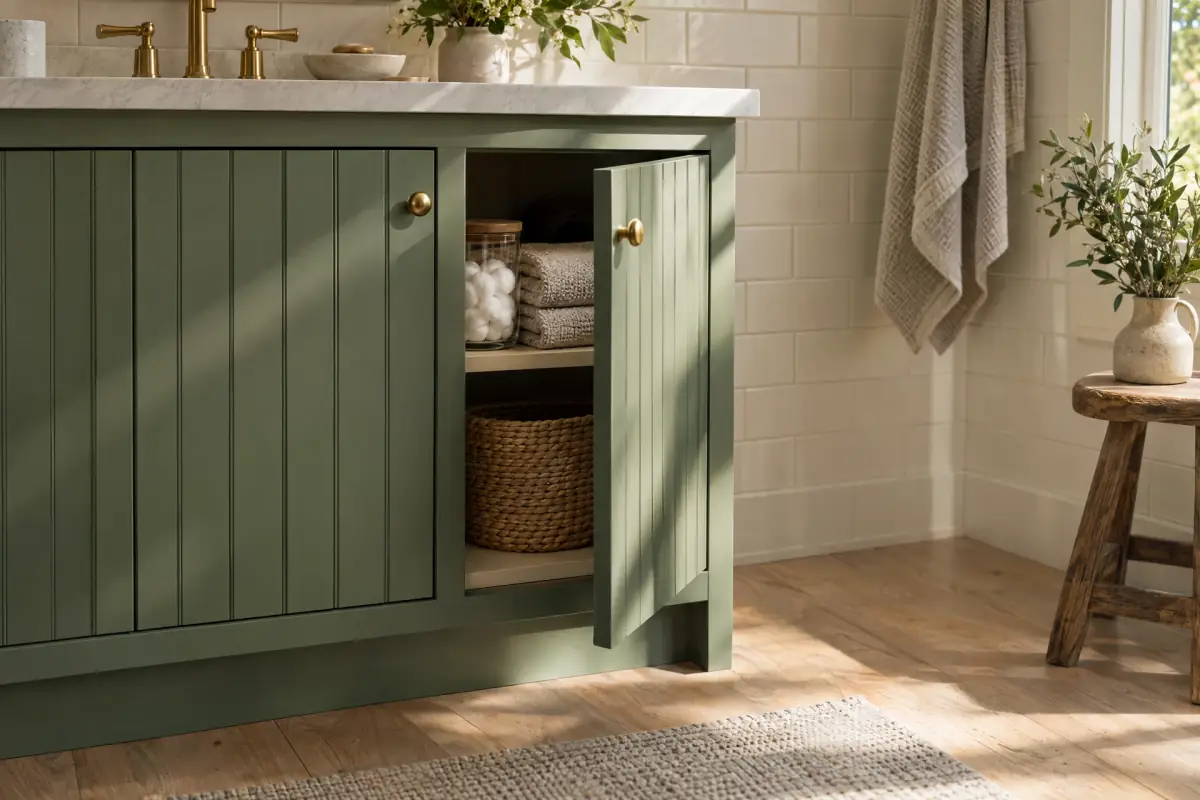
Beadboard cabinet doors: charm, minus the fuss
Where beadboard works, where it fights you, and how to specify it. Bead width, sealing, scale, and how to dodge the cottage-overload trap entirely.
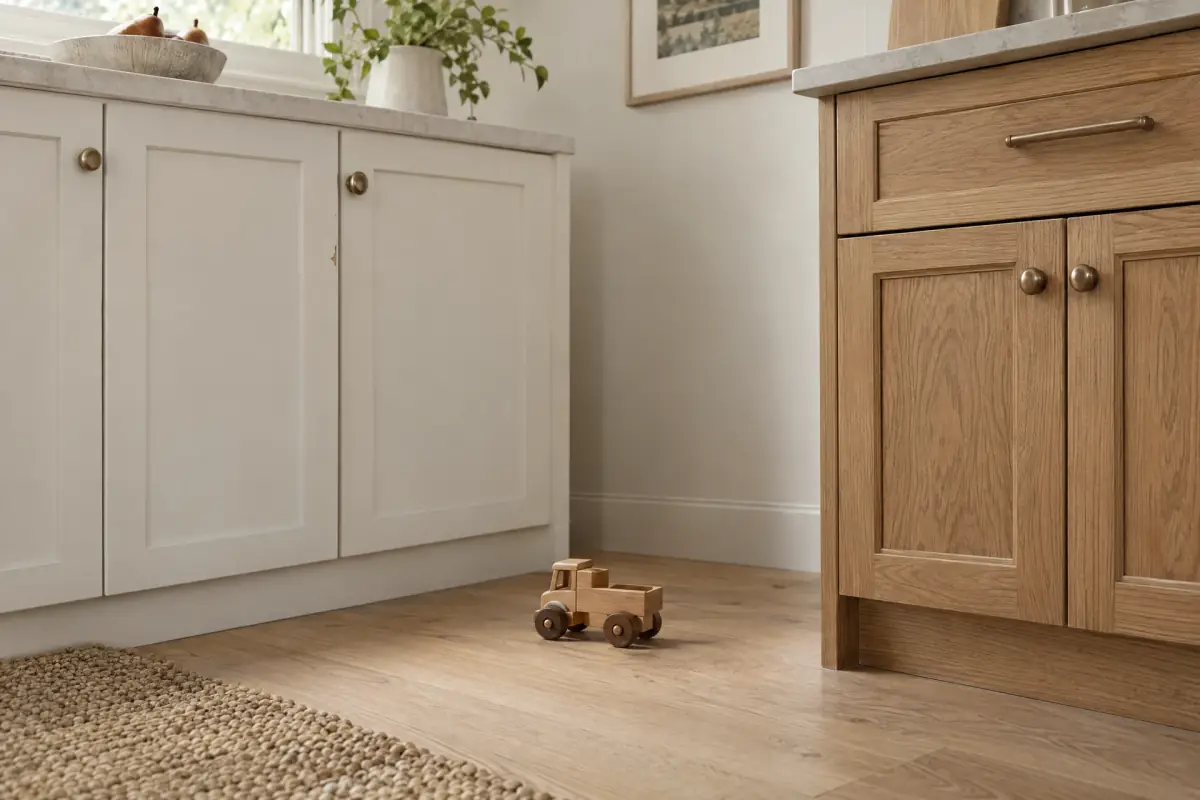
Painted vs stained cabinets in a busy kitchen
Paint hides grain and forgives touch-ups; stain shows wood and punishes chips. How each finish survives grease, steam, kids and sunlight in a busy kitchen.
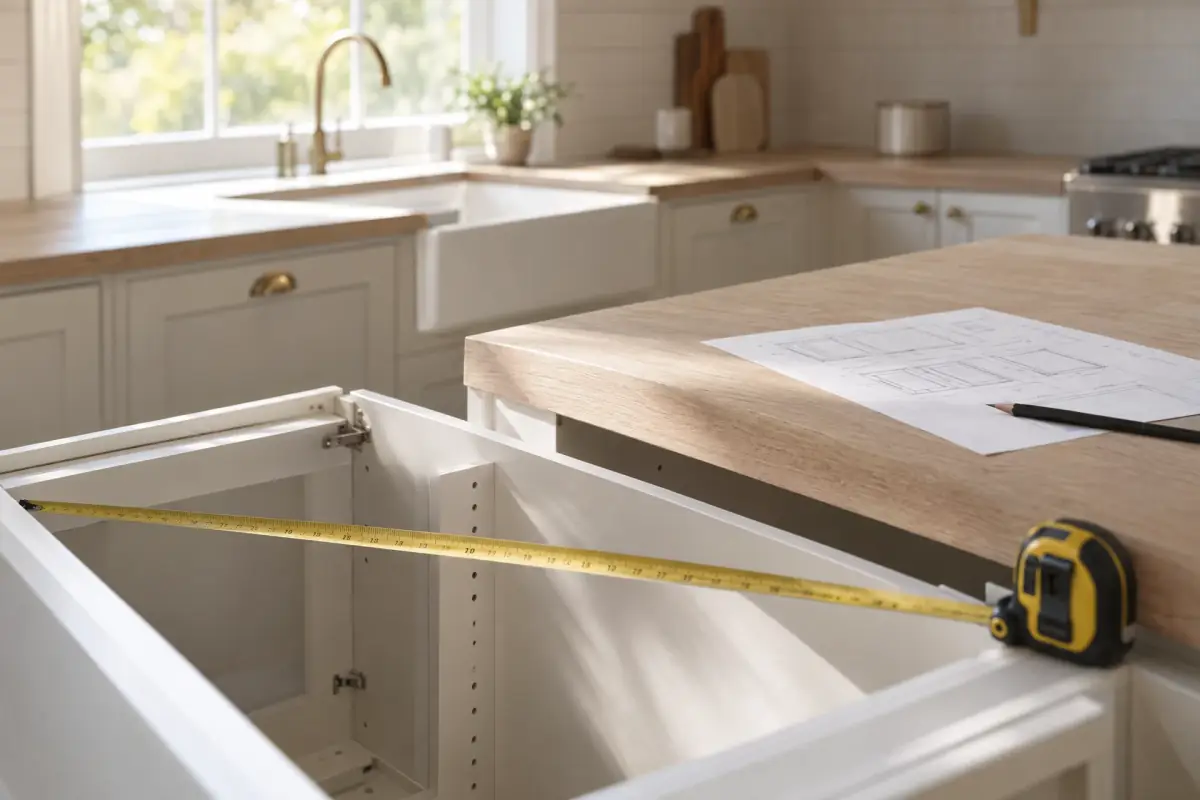
How to measure cabinet doors without guessing
Measure the opening, fix the overlay, and record every door once. A practical door schedule that keeps you out of the reorder queue for good.